Customer Service Ticket EDI Export
Customer Service Ticket EDI Export
In TransVirtual there is the ability to create Customer Service tickets against a consignment. The purpose of these tickets is to raise any issues to the the attention of your team so that they can be resolved.
TransVirtual has the ability to export any created ticket information and send this to a location through the use of EDI (Electronic Data Interchange) Export rules. These exports utilize FTP, email, etc to send the data out of TransVirtual.
The page used to set these export rules up can be found under EDI > Data Export > Customer Service Tickets.
This article will detail how to setup a common example; sending an email to a customer when a Customer Service Ticket has been raised for them.

This article assumes you have already setup an SMTP; this is where outgoing emails from TransVirtual send via an email of your choosing, rather than a TransVirtual one. For help on how to set this up, click here.
Example Setup - Ticket Creation
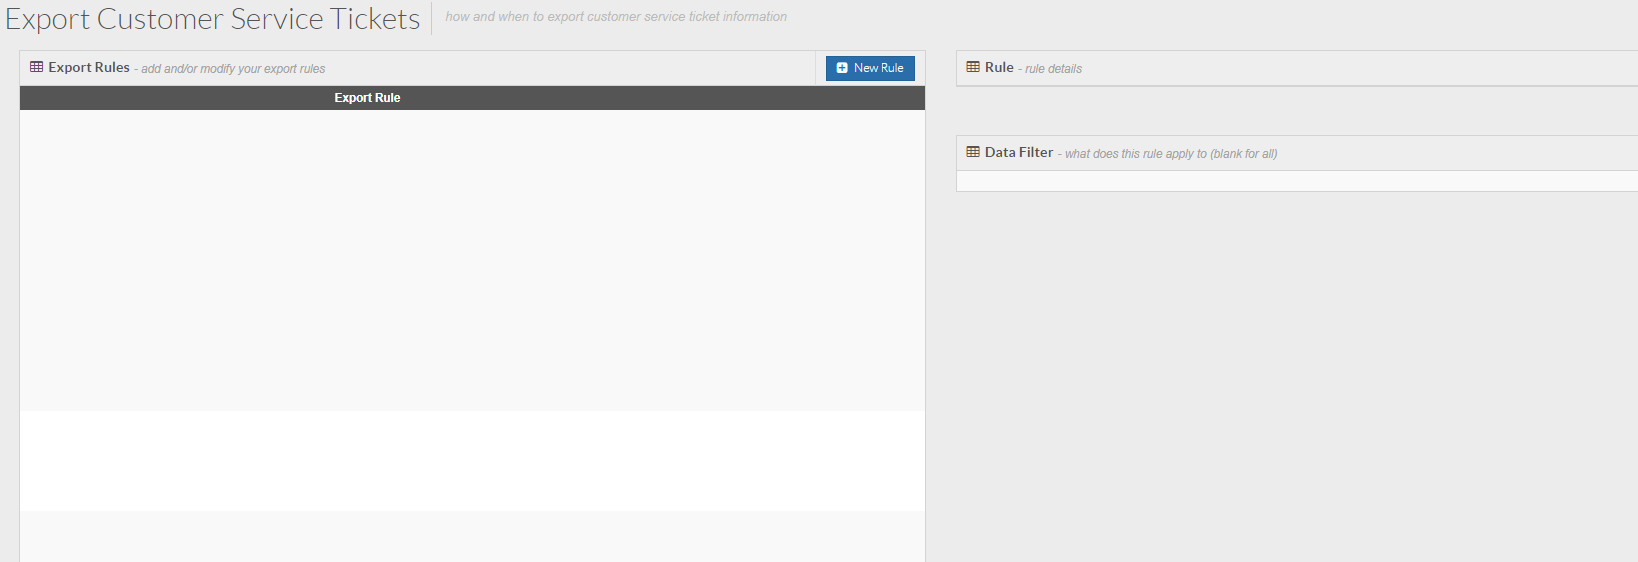
Arriving at this page, you will see a screen similar to the below:
To create a new export rule click the New Rule button at the top of the page.
You will then see a pop-up window like the below:

Rule Name = This is the name you will give the EDI rule. The name you give this rule should be reflective of what the rule does. For this example we are going to name it "Email to Customer on Ticket Creation".
To create a new export rule click the New Rule button at the top of the page.
You will then see a pop-up window like the below:
Rule Name = This is the name you will give the EDI rule. The name you give this rule should be reflective of what the rule does. For this example we are going to name it "Email to Customer on Ticket Creation".
Export Framework = This is the method by which TransVirtual will export the data this rule sends. This example will use Email.
Click the Create button to create the EDI rule.
The rule will now appear in the list in Orange indicating it is currently inactive.
Click on the rule and the settings for it will appear on the right:
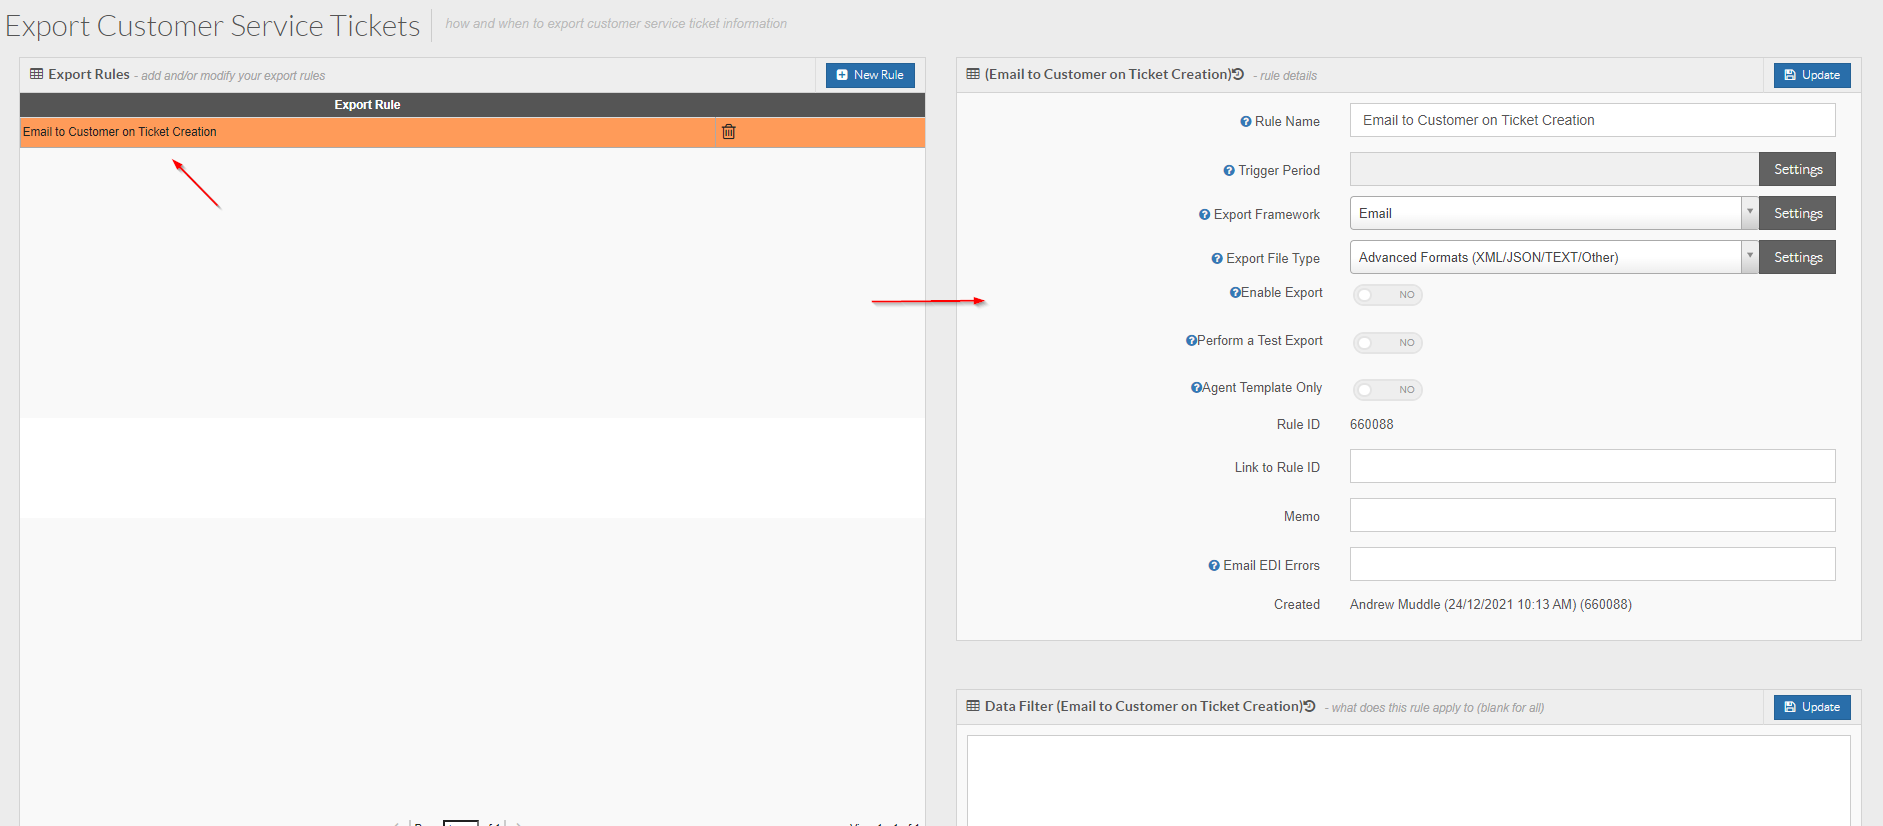
We now need to configure these settings.
Starting at the bottom of the page; you'll notice there is a Data Filter.
The Data Filter is the driving force that determines when this EDI rule will and will not apply.
To apply logic to the Data Filter, use the drop-down builder at the bottom of the page:
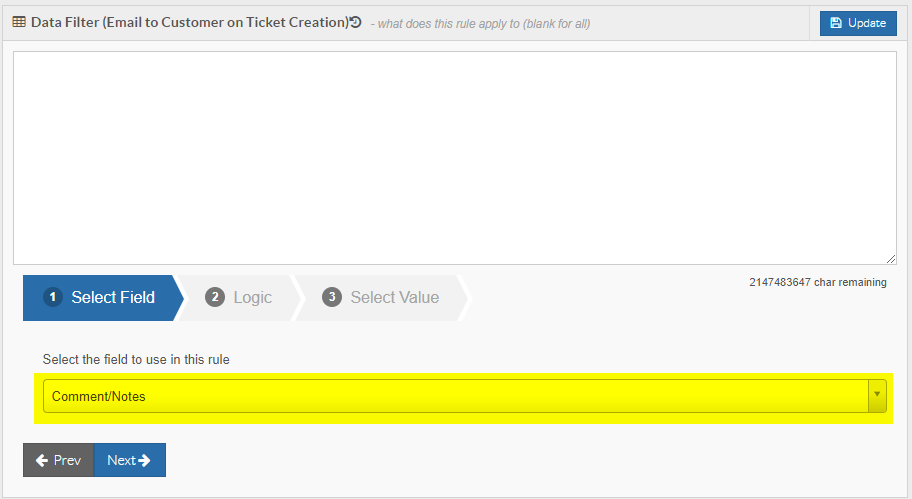
To create the logic for this Data Filter, select the field from the list that says System Event:
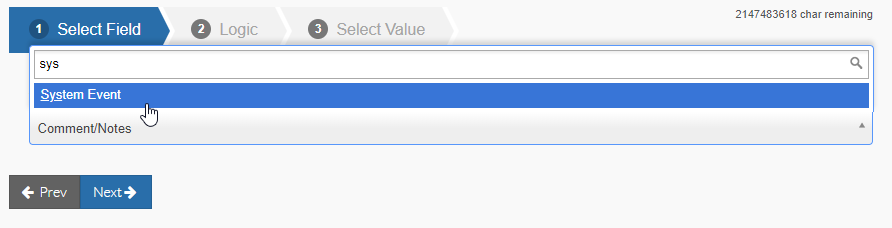
Click the Next button once you have selected this field to move on to Step 2 of the builder.
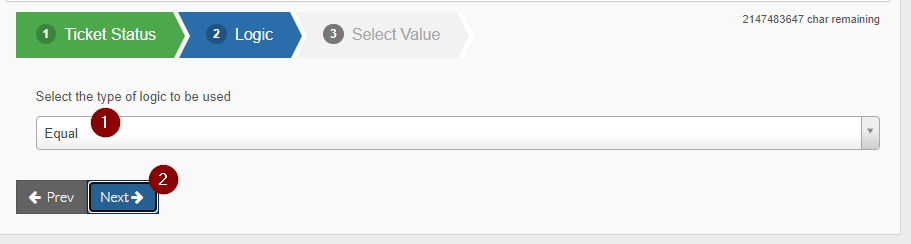
In Step 2, select Equal and click Next:
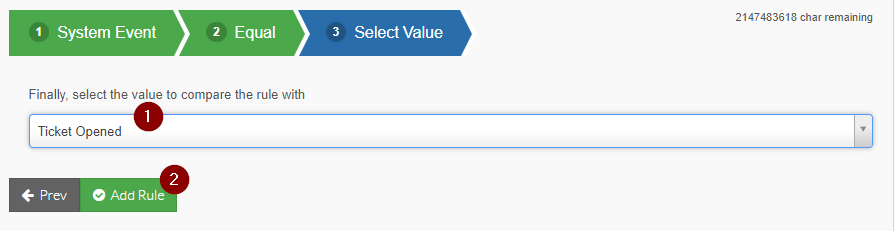
In Step 3 of the builder, select Ticket Opened and then click Add Rule to apply this logic:
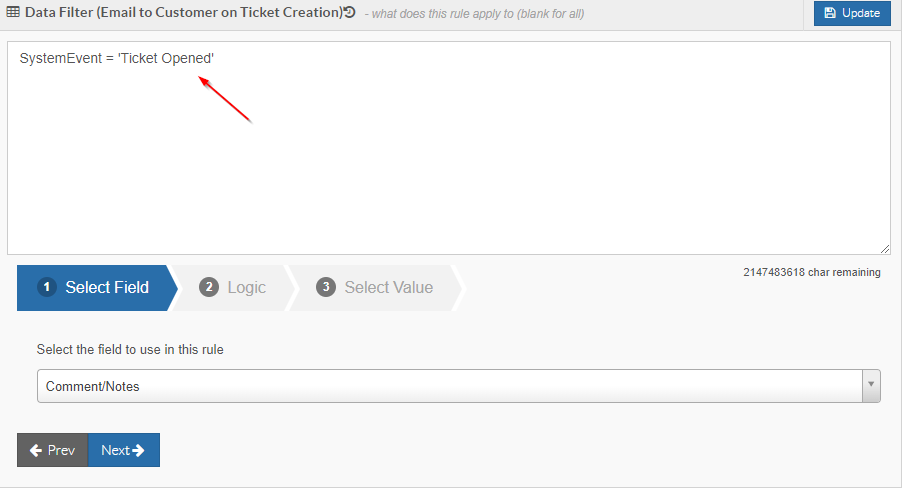
You will then see text/logic appear in the Data Filter:
The rule will now appear in the list in Orange indicating it is currently inactive.
Click on the rule and the settings for it will appear on the right:
We now need to configure these settings.
Starting at the bottom of the page; you'll notice there is a Data Filter.
The Data Filter is the driving force that determines when this EDI rule will and will not apply.
To apply logic to the Data Filter, use the drop-down builder at the bottom of the page:
To create the logic for this Data Filter, select the field from the list that says System Event:
Click the Next button once you have selected this field to move on to Step 2 of the builder.
In Step 2, select Equal and click Next:
In Step 3 of the builder, select Ticket Opened and then click Add Rule to apply this logic:
You will then see text/logic appear in the Data Filter:
At present, the Data Filter will apply this EDI rule to any consignments that have recently been created (opened).
You could add extra logic to this Data Filter if you like to cover other scenarios, but for this example, we are going to leave as is.
Once the Data Filter has been configured, we need to configure the rest of the settings for this rule.
Rule Name = This is simply the name of the EDI rule and this field should already be populated from when the rule was created. If needed, you can change the Rule Name; the name should be reflective of what the rule does. We are going to leave as is for this example.
Trigger Period = This is how often this EDI rule will run. You can change to be a set time of day or at set intervals using the Settings button next to this field:
Apply any changes you wish to, but for this example we are going to set as Every 2 mins.
Export Framework = This is the method that TransVirtual will use to export the information generated by this EDI rule. This example will use email. You can customize the email that is sent with the export using the Settings button next to this field:
Once clicked, you will see a screen similar to the below:
For this example, we are going to set this to send to the Ticket Contact Email address. To do this, toggle the below setting to YES:
Toggling this to YES means that when the email sends it will send to the email listed as the ticket contact:

Note: This example assumes that you have already setup an SMTP so that outgoing emails are sent via your own email address rather than a TransVirtual one:
The reason this is important is because when the ticket contact receives an email about a newly created ticket they have, if they are to respond to that email, if you have an SMTP setup the return email will go back to your own email. This is an important step in setting up this export rule.
As you can see in the above image, we are going to use our Customer Service email address to send out any emails generated by this EDI rule.
The Email To field should only be used for internal staff where possible. We are going to leave blank for this example as we only want to send to the Ticket Contact Email.
The Email Subject field can be used to create an email subject of your choosing. For this example we are going to use the below:
Note: The @Model.TicketNumber is a special coding function that automatically populates the ticket number. For this to work, this code must be spelt exactly as per the above
Once this has been configured, we are going to add an Email Body:
For this example, we are going to use the below:
Note: The @Model.RelatedNumber is a special coding function that will automatically populate the consignment number that this ticket is related to. For this to work correctly, the code must be spelt exactly as above.
You can also include the below in your email body:
This is another special coding function that will send the user a URL they can go to add comments to their open ticket and view/track its progress.
Not required but may be useful.
Once you have the entered the Email Body, you can click the validate button at the bottom of this window which will give you a preview of what the email will look like. The Validate button also checks any coding you have entered and will alert you is there are any issues that require resolving.
Click the Update button to implement these email changes.
Export File Type = This section can be used to include attachments that are sent with the email. For this example we are not sending any attachments, so we are going to select None and then click update to implement:
The next thing to do is to enable the rule. Toggle Enable Export to YES and click Update:
The rule will now appear in white in your list indicating that the rule is now active:
Now, when a new Customer Service Ticket gets opened (created), the email address listed as the ticket contact will receive an email informing them that a new ticket has been created and for what consignment.
Example Setup - Ticket Comment
The above so far has explained how to setup an EDI rule that will email a customer when a ticket has been created for them.
There is also the ability to create another EDI rule (from within the same page) that exports any comments made against a ticket, to the relevant customer ticket contact.
The setup to create this kind of EDI rule is largely the same as the above, with a few minor differences.
An example of how to set this type of rule up would be:
1. Click the Create New Rule button at the top of the page, then give the rule a name and specify the Export Framework. For this example we are going to name the rule "Email Ticket Comment to Customer" and the Export Framework will be Email:
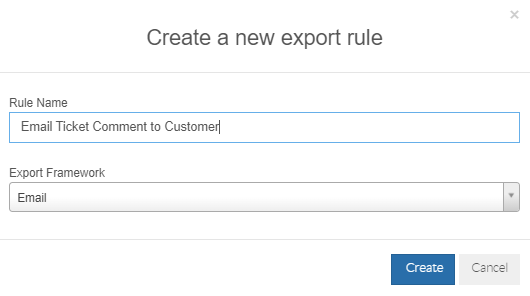
Click the Create button to create the rule.
Click the Create button to create the rule.
2. In the Data Filter for this rule, you will need to enter something similar to the below:
Step 1 of the builder would be Note Type, Step 2 would be Equal and Step 3 would be UserNotePublic. Adding this to the Data Filter means we want the export to apply when there is a public comment added to the ticket.
Public comments are those thay anyone with access to this ticket can see. When adding comments there is the ability to toggle a setting that allows you to hide comments from customers if needed. To do this, simply click Add New Comment and then toggle the below slider to No when adding a comment:
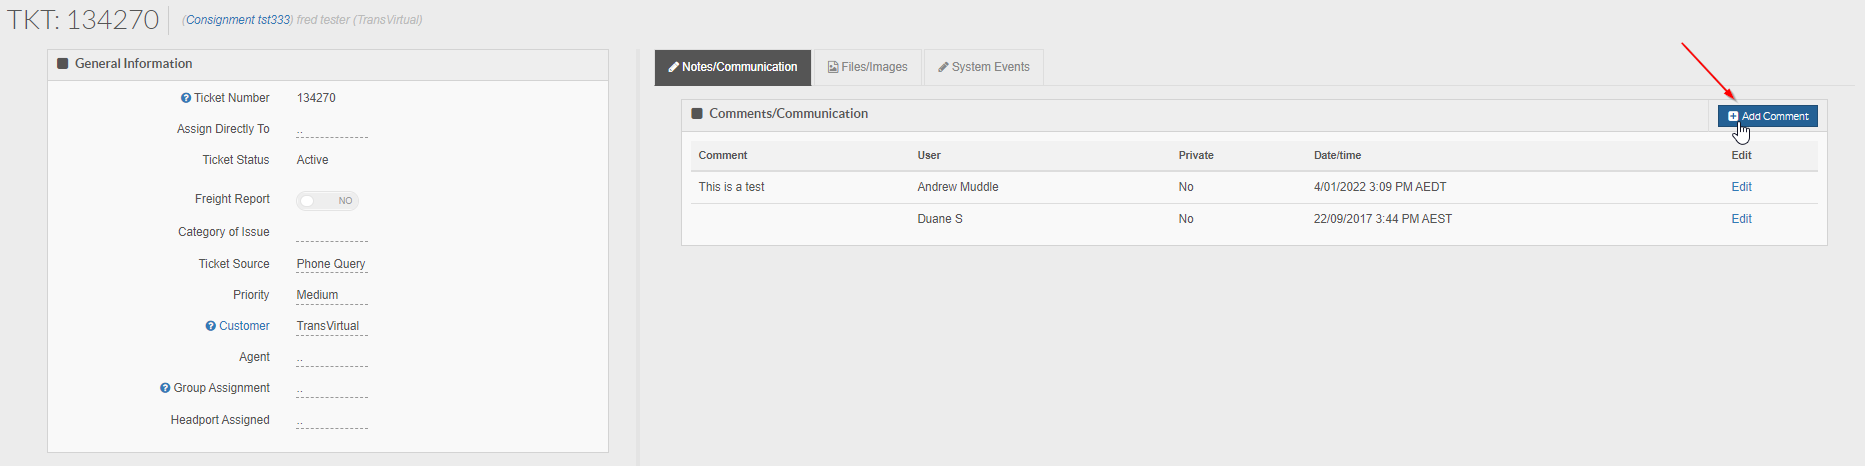
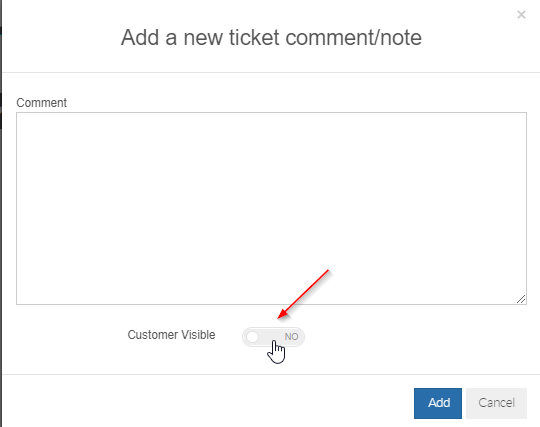
3. In the Export Framework Settings, configure the email being sent to send to the Customer Ticket Contact as per the first example in this article.
Give the email an appropriate subject; you can add in @Model.TicketNumber code here. Doing this means that TransVirtual will see the same ticket number being used in the responses and will group all responses in the one thread/which will appear together on the same ticket.
In the Email Body, you can use these 3 pieces of code:
Public comments are those thay anyone with access to this ticket can see. When adding comments there is the ability to toggle a setting that allows you to hide comments from customers if needed. To do this, simply click Add New Comment and then toggle the below slider to No when adding a comment:
3. In the Export Framework Settings, configure the email being sent to send to the Customer Ticket Contact as per the first example in this article.
Give the email an appropriate subject; you can add in @Model.TicketNumber code here. Doing this means that TransVirtual will see the same ticket number being used in the responses and will group all responses in the one thread/which will appear together on the same ticket.
In the Email Body, you can use these 3 pieces of code:
@Model.TicketNumber = Used to automatically generate the ticket number.
@Model.RelatedNumber = Used to automatically generate the linked consignment number.
@Model.NewNoteComment = Used to automatically generate the comment text that has been added.
@Model.RelatedNumber = Used to automatically generate the linked consignment number.
@Model.NewNoteComment = Used to automatically generate the comment text that has been added.
An example of what the Email Body could look like would be the below:
Note: The coding text must be spelt exactly as the above for this to work properly.
The Validate button can be used to preview the email and also to check for any errors with any coding text.
Once the appropriate settings have been configured, simply enable the export rule to activate it.
Again, this process works best with an SMTP setup - refer to top of article for further information on this.
For further information on Customer Service Tickets, please refer here.
For further information on Customer Service Tickets, please refer here.
Extra Information
If you have configured a customer service ticket EDI export to send to a staff allocated email address and the assigned staff member on a ticket does not have an email address listed against their staff card, the system will instead send the email to the email address listed against the below section in Global Setup page:
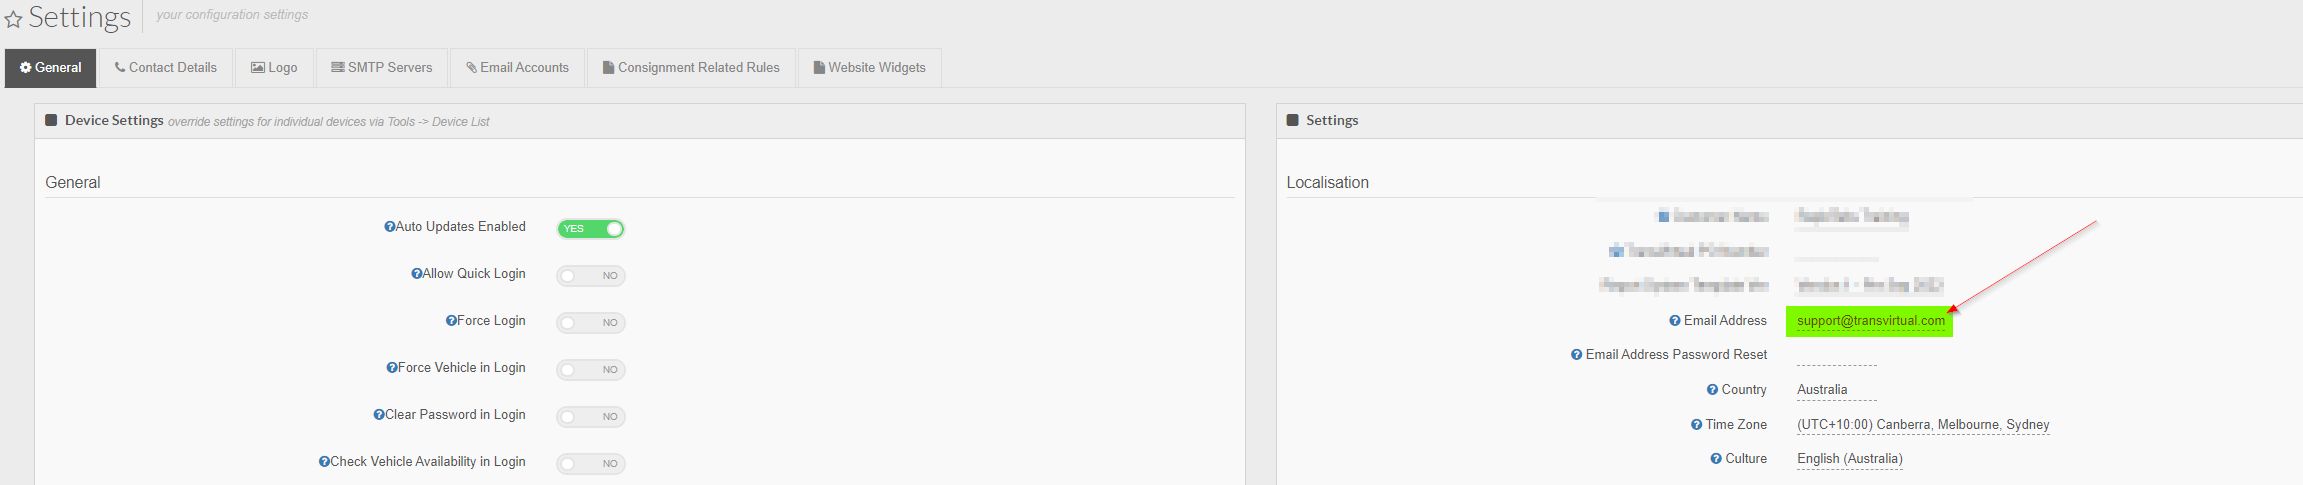

It is advisable that all staff members have an email attached to their staff card as this helps with multiple functionalities across TransVirtual.
You can identify whether a staff member has an email against their staff card or not by going to either Home > Card Files > Staff List OR Transport > Configuration and Setup > Card Files > Select Staff List tab: