Additional Service EDI Export
Additional Service EDI Export
In TransVirtual there is the ability to create Additional Service EDI (Electronic Data Interchange) Export Rules that can send out information from TransVirtual to a location; this can be done using FTP, Email, etc.
Typically these export rules are used to alert a customer that you have applied an Additional Service to one of their consignments.
This page can be found under EDI > Data Export > Additional Services.
This article will run through a common example setup - sending an email notification to a customer when an Additional Service has been added to one of their consignments.
Example Setup
Arriving at this page, you will see a screen similar to the below:
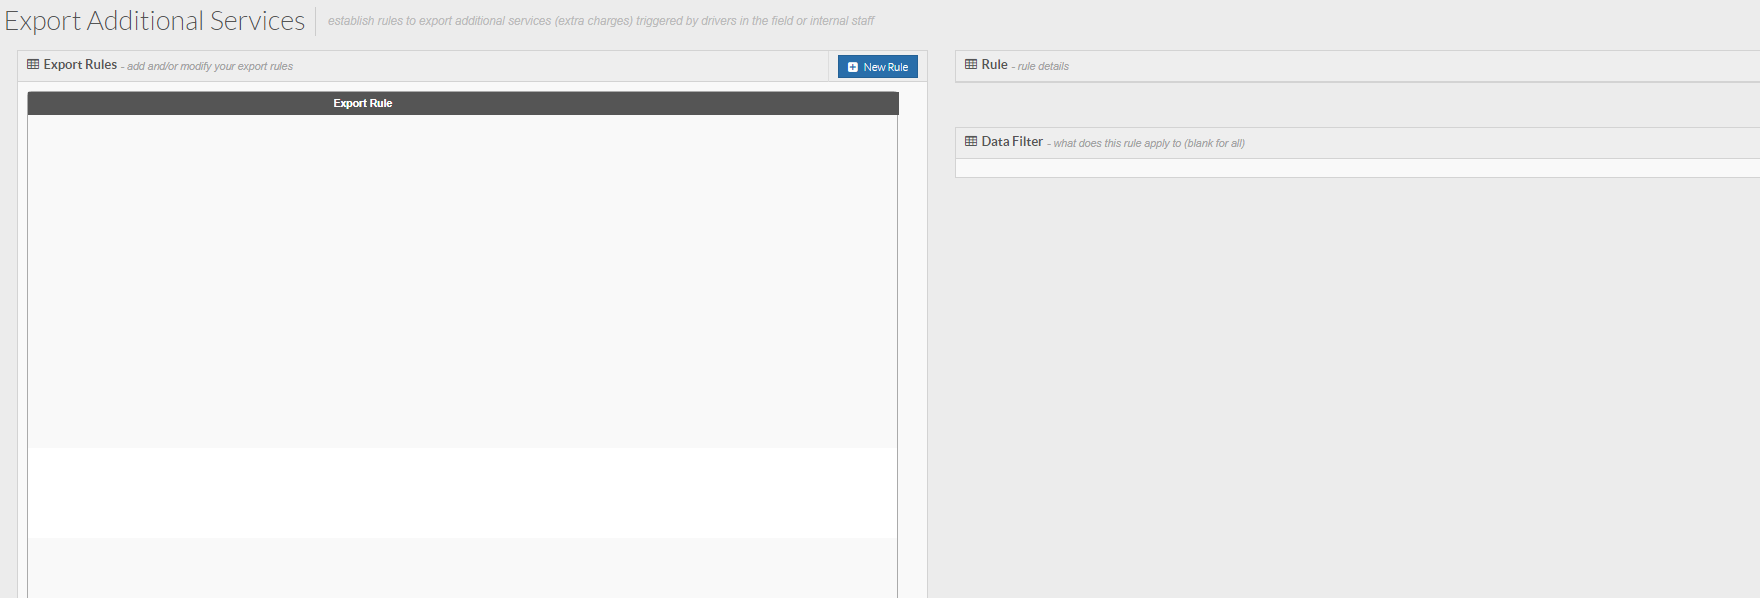
To create a new rule, click the New Rule button at the top of the page.
You will then see the below pop-up window:
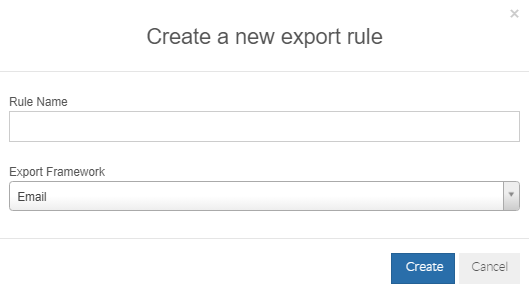
The Rule Name field is used to give this rule a name; call it something that relates to what the rule will do. For this example we are going to name the rule "Additional Service Email Notification to Customer".
The Export Framework field is used to define how this data will be sent out of TransVirtual, For this example we are going to select Email.
To create a new rule, click the New Rule button at the top of the page.
You will then see the below pop-up window:
The Rule Name field is used to give this rule a name; call it something that relates to what the rule will do. For this example we are going to name the rule "Additional Service Email Notification to Customer".
The Export Framework field is used to define how this data will be sent out of TransVirtual, For this example we are going to select Email.
Click Create and the rule will be created.
Your rule will then appear in the list in Orange - indicating that it is currently inactive.
Click on the rule and the settings for it will appear on the right-hand side:
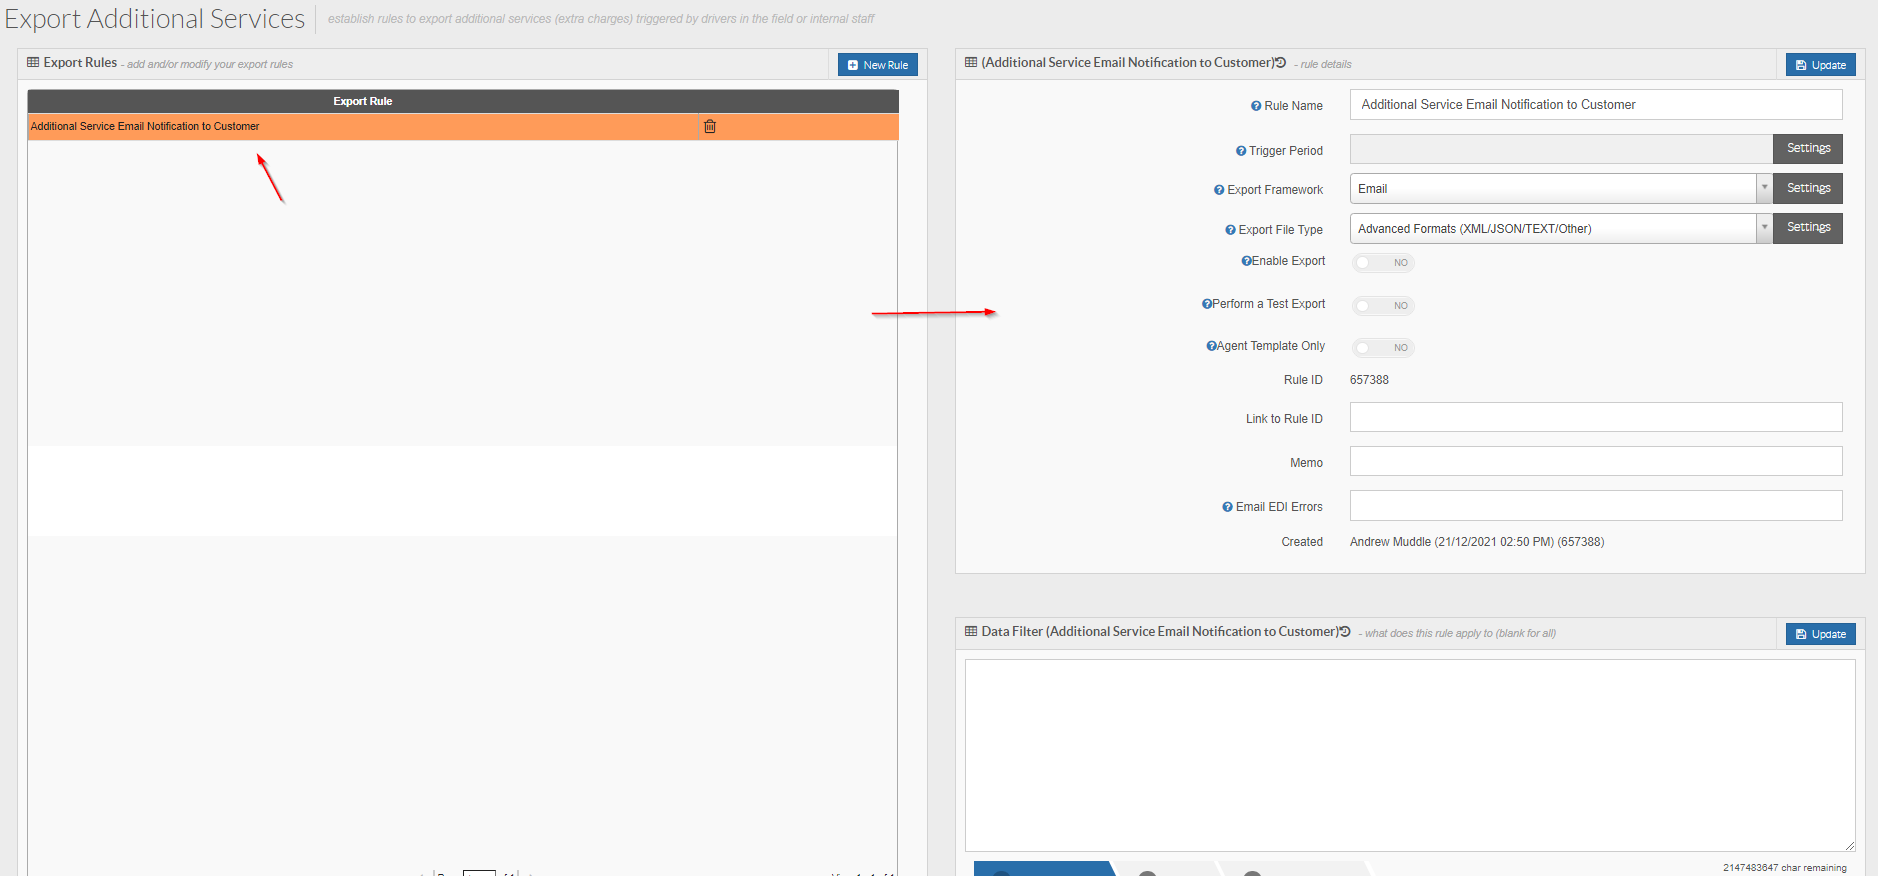
From here we need to configure the settings for this rule.
At the bottom of the page there is a Data Filter.
The Data Filter is the driving force behind when this rule will and will not apply to a consignment.
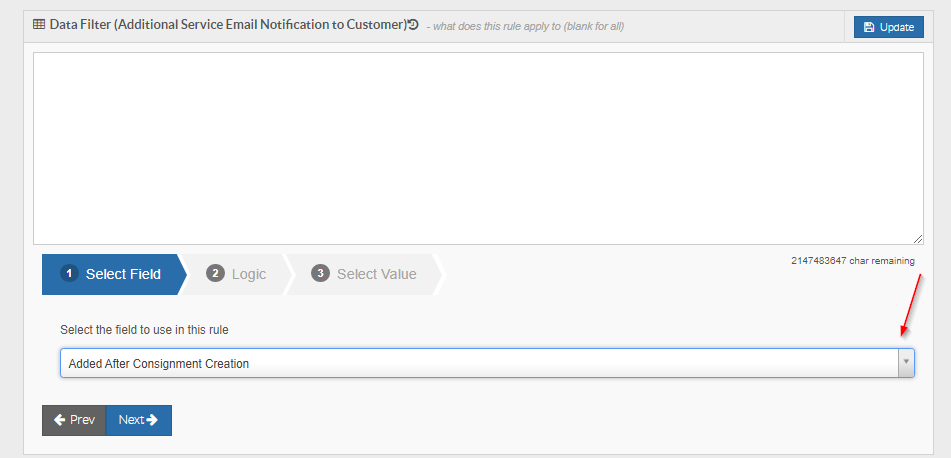
We are going to apply text/logic to the Data Filter to get it working as expected.
To do this, use the drop-down builder at the bottom of the page and select the field that says Approved:
Your rule will then appear in the list in Orange - indicating that it is currently inactive.
Click on the rule and the settings for it will appear on the right-hand side:
From here we need to configure the settings for this rule.
At the bottom of the page there is a Data Filter.
The Data Filter is the driving force behind when this rule will and will not apply to a consignment.
We are going to apply text/logic to the Data Filter to get it working as expected.
To do this, use the drop-down builder at the bottom of the page and select the field that says Approved:
Once this value has been selected, click the Next button to move to Step 2 of the builder.
Step 2 is where you add the logic part of this criteria. We are going to select Equal from Step 2 and then click Next to move to Step 3:
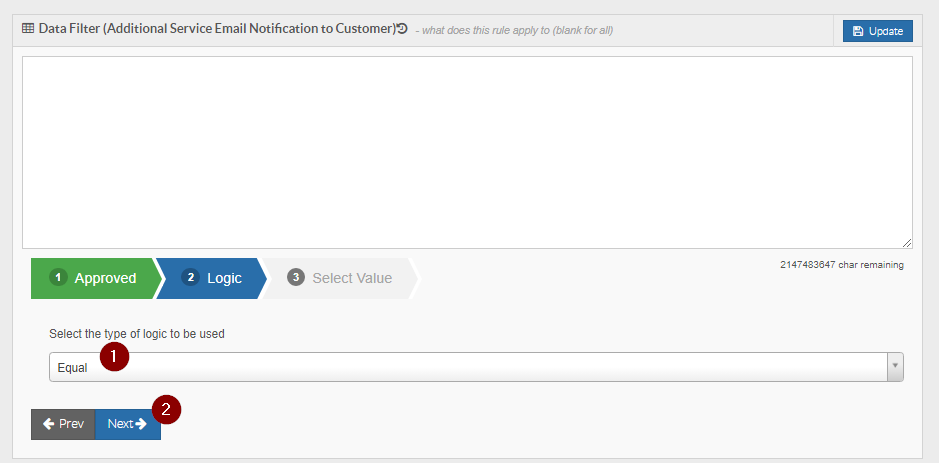
Step 2 is where you add the logic part of this criteria. We are going to select Equal from Step 2 and then click Next to move to Step 3:
In Step 3 we are going to select the value part of this criteria. For this example we are selecting Yes. Click Add Rule once selected:
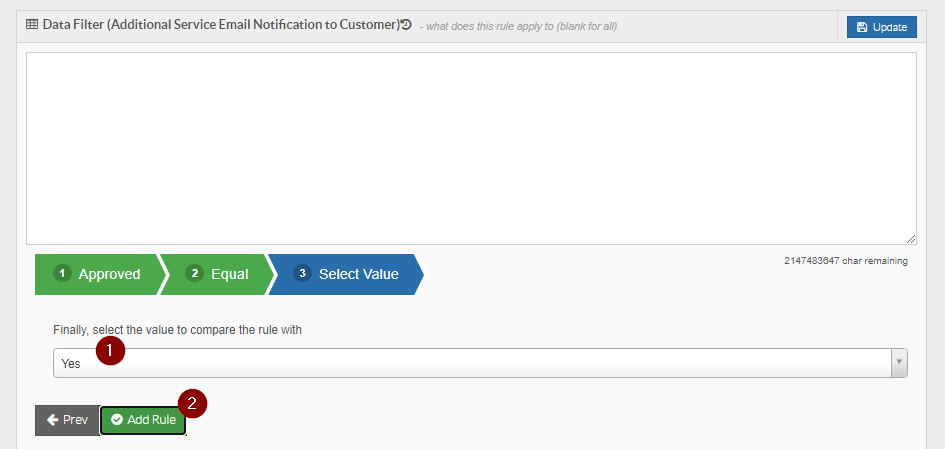
Once Add Rule has been clicked you will see text now appear in the Data Filter as per the below:
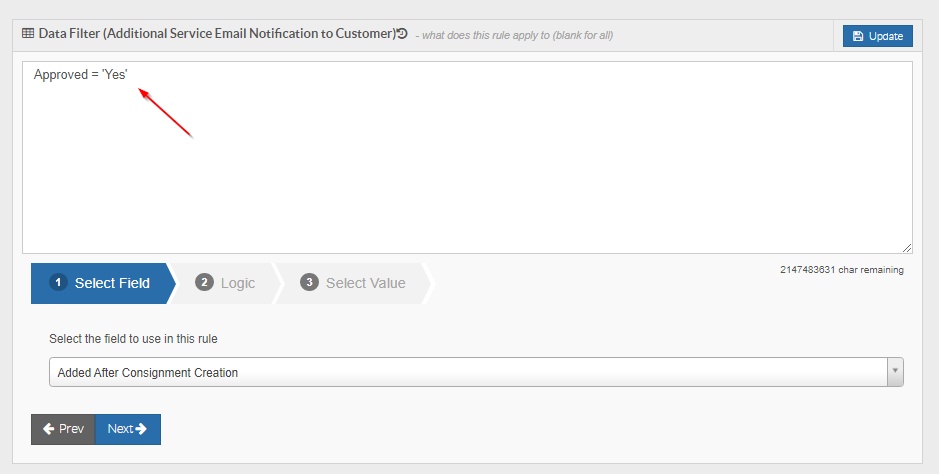
The Data Filter will now only look for and apply to consignments that have Approved Additional Services.
If you wanted to limit this to only apply to a particular customer, you could add an extra line to the Data Filter that specifies a customer name.
To do this, Step 1 of the builder would be Customer Name, Step 2 would be Equal, and Step 3 would be the customer name.
For this example we are going to apply this rule to all customers, so we will leave the Data Filter with just the first line.
Once the Data Filter has been configured, you then need to modify the settings at the top of the page.
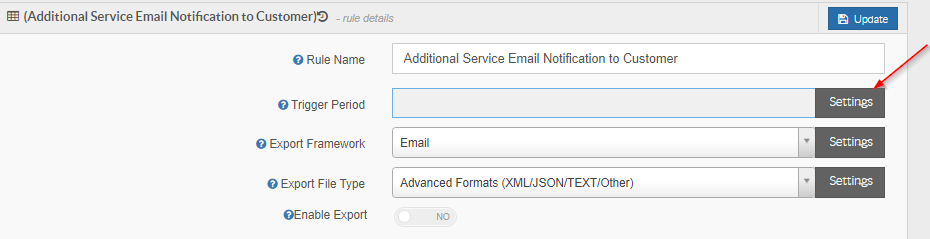
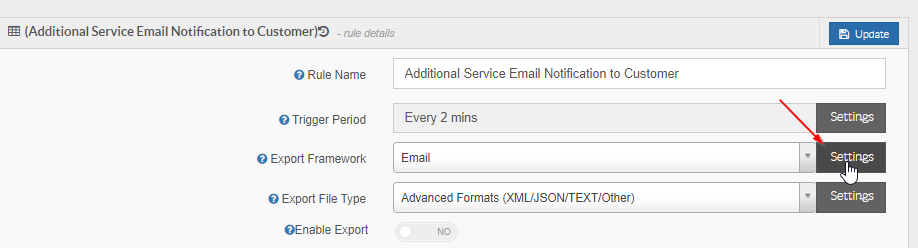
Rule Name = This field is simply the name of the rule. You can change if needed, but the name should be reflective of what the rule does. We are going to leave as is for this example.
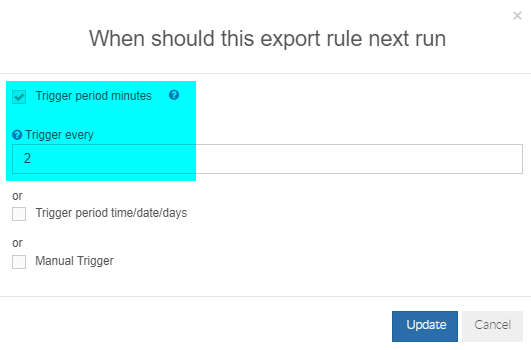
Trigger Period = This field defines when this EDI rule will next run. You can set this to run at certain times of the day using the Settings button next to this field if required:
The Data Filter will now only look for and apply to consignments that have Approved Additional Services.
If you wanted to limit this to only apply to a particular customer, you could add an extra line to the Data Filter that specifies a customer name.
To do this, Step 1 of the builder would be Customer Name, Step 2 would be Equal, and Step 3 would be the customer name.
For this example we are going to apply this rule to all customers, so we will leave the Data Filter with just the first line.
Once the Data Filter has been configured, you then need to modify the settings at the top of the page.
Rule Name = This field is simply the name of the rule. You can change if needed, but the name should be reflective of what the rule does. We are going to leave as is for this example.
Trigger Period = This field defines when this EDI rule will next run. You can set this to run at certain times of the day using the Settings button next to this field if required:
For this example, we are going to set as Every 2 mins.
Export Framework = This is the method by which TransVirtual will export this data. this example will use Email.
You can customize the email that is sent by clicking the Settings button next to this field:
From here you see a screen similar to the below:
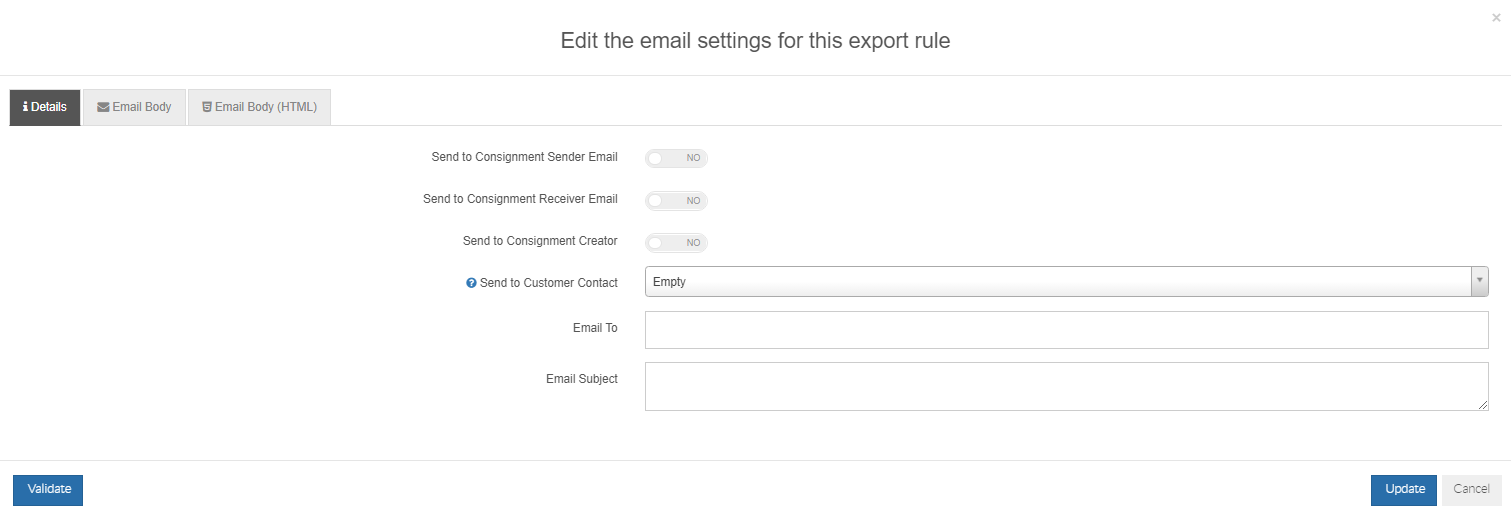
The 3 toggles at the top of this window can be used to send these emails to a consignment sender or receiver email address.
For this example though, we are going to send the emails to the customer using the Send to Customer Contact field.
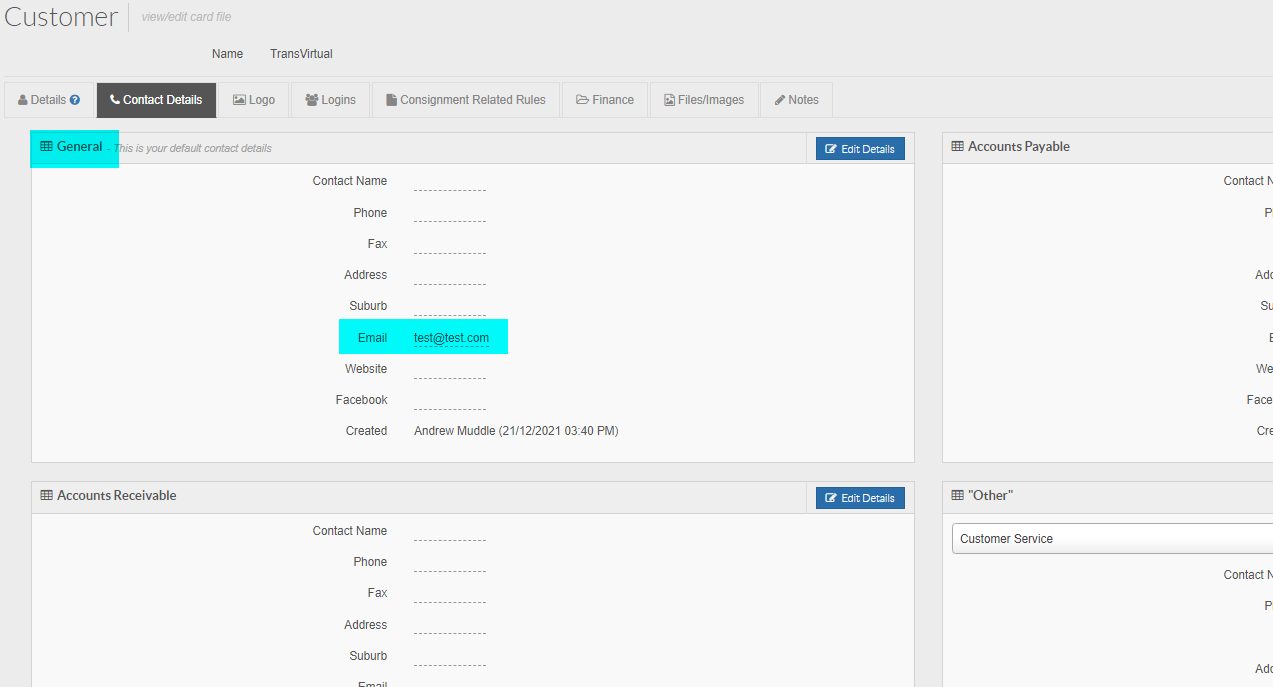
This field will send to any emails listed against the contact you specify for that customer. These emails can be setup and found in each customer card under the contact details tab:
Export Framework = This is the method by which TransVirtual will export this data. this example will use Email.
You can customize the email that is sent by clicking the Settings button next to this field:
From here you see a screen similar to the below:
The 3 toggles at the top of this window can be used to send these emails to a consignment sender or receiver email address.
For this example though, we are going to send the emails to the customer using the Send to Customer Contact field.
This field will send to any emails listed against the contact you specify for that customer. These emails can be setup and found in each customer card under the contact details tab:
For this example, we are going to send emails to the General Customer Contact:
The Email To field should typically be used for internal staff, unless the Data Filter has been limited to a particular customer. Any emails listed in this section will receive all emails generated by this EDI rule, so best to only enter internal staff emails where possible.
The Email Subject field is used to enter text that will be sent as the Email Subject when the email is sent out.
For this example we are going to use the below as our subject:

Note: The @Model.ConsignmentNumber is a special coding function that will automatically populate the consignment number. Ensure that this is spelt exactly as above for this to work.
From here, we are going to edit the Email body that is sent:
We are going to use the below in our example:
Note: @Model.ExtraChargeQty and @Model.ExtraChargeName are special coding functions that automatically populate the name of the Additional Service that has been added to the consignment and the quantity that has been added. Ensure that these are typed exactly as per the above for them to work as expected.
The Validate button located bottom-left can be used to preview what the email will look like - it also checks any code you have added and ensures there are no issues (any issues will flag and you will need to resolve).
From here, click the Update button to implement these changes to the Email settings.
The next step is to configure the Export File Type:
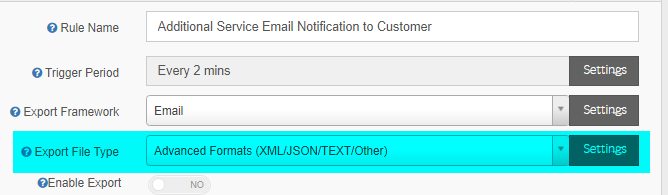
This field simply allows you to send something with the email. For this example we are going to set as None as no attached files are required. Select None and click Update to implement.
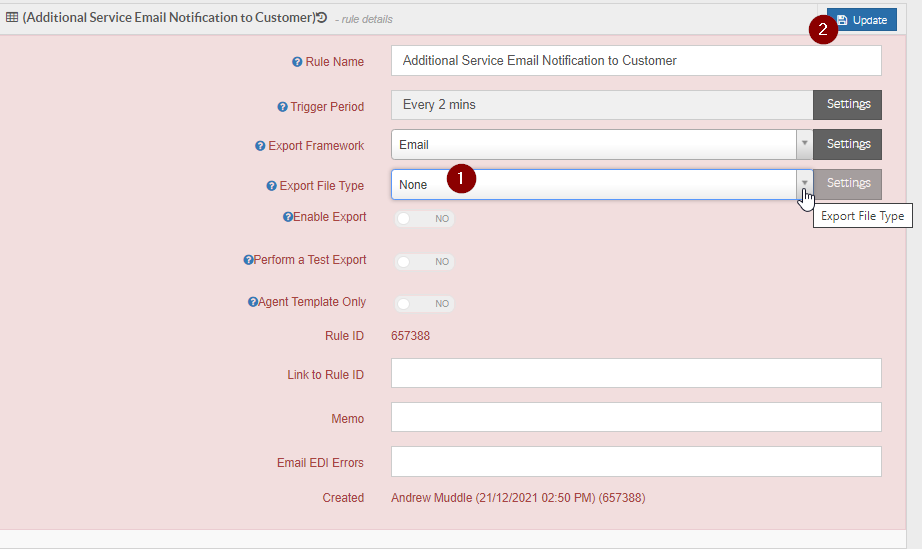
Once this has been completed, the next thing to do is to click the Enable Rule and toggle the slider to YES. Click Update to activate this rule:

Once you do this, your EDI rule will now appear in white in the list as it is now active.
This field simply allows you to send something with the email. For this example we are going to set as None as no attached files are required. Select None and click Update to implement.
Once this has been completed, the next thing to do is to click the Enable Rule and toggle the slider to YES. Click Update to activate this rule:
Once you do this, your EDI rule will now appear in white in the list as it is now active.